Wednesday, February 2, 2011

A New Spin on an Old Door... Part 1!

Out of all the pieces of crap that I have come across, the thing I keep running into are old doors........
There are so so many ways to use old doors in new cute ways, this is my little way to compile some ideas, and the first of 3 that I will redo! I hope you get inspired and redo one for yourself...or at the very least buy the ones i do;)

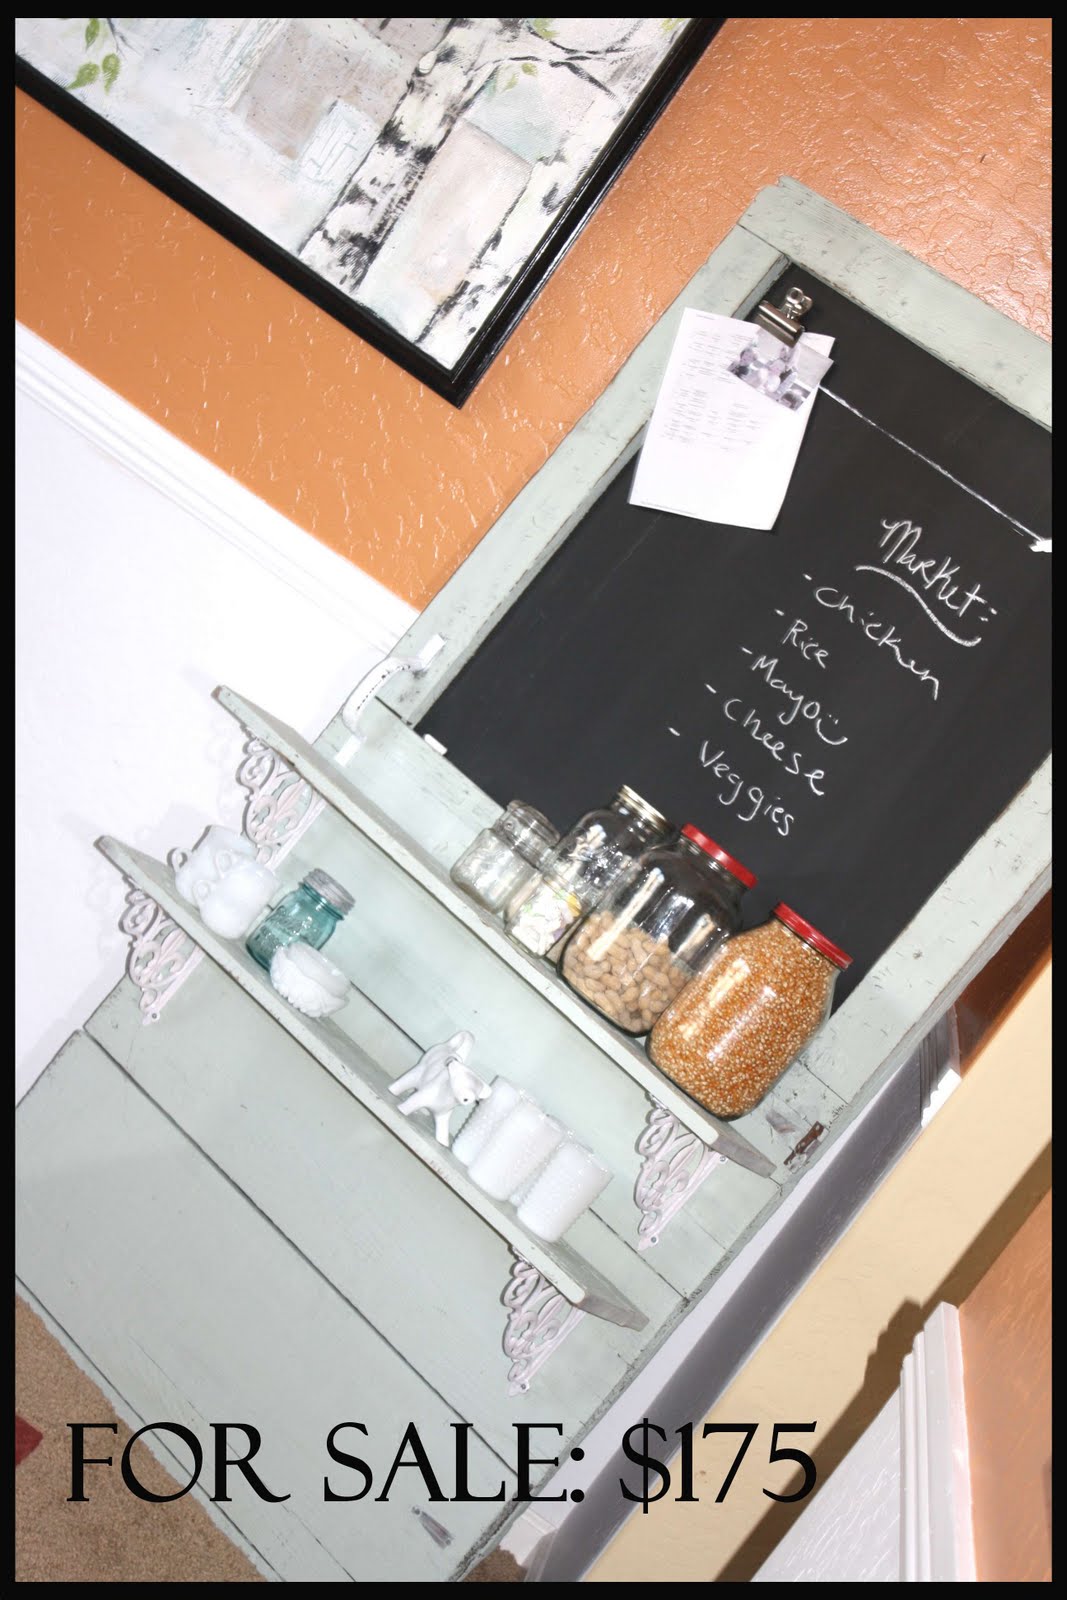
Here is mine to start! It was pretty rough, and didn't look like much but with a little love it turned into one of my favorite pieces!
Painted it with some of the leftover wall paint we used in our bedroom
Using my measuring tape, some scrap wood and a hand saw, I cut 2 shelves that will go on the bottom of the door. So when I was painting, I painted those too. I taped around the existing handle and spray painted it white (shown below)

Using a $6 piece of Medium-density fiberboard (MDF), I measured my opening and with a pencil, straight edge and using a hand saw cut my desired rectangle out, then painted it in chalkboard paint.
Then when everything is dry I used wood screws to secure it to the back of the door's window. I found these great brackets at Hobby Lobby, they didn't have them in white, but no worries....nothing a little $2 white spray paint wont fix!

I wanted everything to keep that rough worn look, so I sanded it all down around edges.

Spray painted those brackets. I always do it in a box so it contains the paint.

Then I used epoxy to glue a large bulldog clip to the chalkboard. Those stinking clips are a pain in the butt to find!!! I went to every store looking for them, I finally found them in the hobby section of the Hobby Lobby.....go figure.
I busted out the level and put those shelves up....this ended up being a great workout! Had to put my back into it!


All done! This baby is a beast, but so fun! Great for most rooms! Secured to the studs hanging on a wall or just leaning up!

oh yeah and I painted some little birdies on a wire! Always love those!


And another door still for sale....the painting I did inside a door $175 (below)

Just a little sneak peak....this is the next door I'm working on!


Sunday, January 23, 2011

Door Frame of Hooks


I love the wide array of things that you can do with old things! Old windows, wood, doors, or even a door frame! This project is so simple, it's kind of like me taking pictures of the steps it takes to accomplish toasting bread; but whatev it's always fun to see a before and after!

Do My Next Project With Me!!!!
This week is a busy one for me, I have 2 paintings to finish, 2 wall hooks, 2 doors, no hubby, and 3 cutie pie kiddos to take care of! Yikes! So my next post is going to take me a while to finish, but this is a good thing! I want everyone that follows my blog to find yourself an old door this week! I am going to be posting 2 that I put together, but other fun ideas as well, and I'm telling you now, you're going to want an old door handy !!!

Below is my door frame that I used for this weeks project!

All I had to do is cut it. First I tried my miter saw and found that it is broken BOO! Then had to use my old trusty hand saw. Then I sanded off the edges.

I got these at our new Hobby Lobby, SAY WHAT!!!

Then simply screwed them in, and placed a hooks on the back for hanging!


FOR SALE $35

Wednesday, January 12, 2011

Back in Business

Well Hello again all my blogging friends! It's been a while. I've had a couple detours getting back to my projects.... first the holidays, then I threw my back out, then I got fat doing this whole blogging thing.....thus leading back to the gym, and then it was just to dang cold to do these projects. Well, my big butt's on a diet, I'm back at the gym, my back seems to be cooperating again, and my goodness we had a warm sunny day today. So to work I went!......
I started 3 projects today and let me tell you what, I think they are going to be some of the hardest for me but some of the cutest results:)

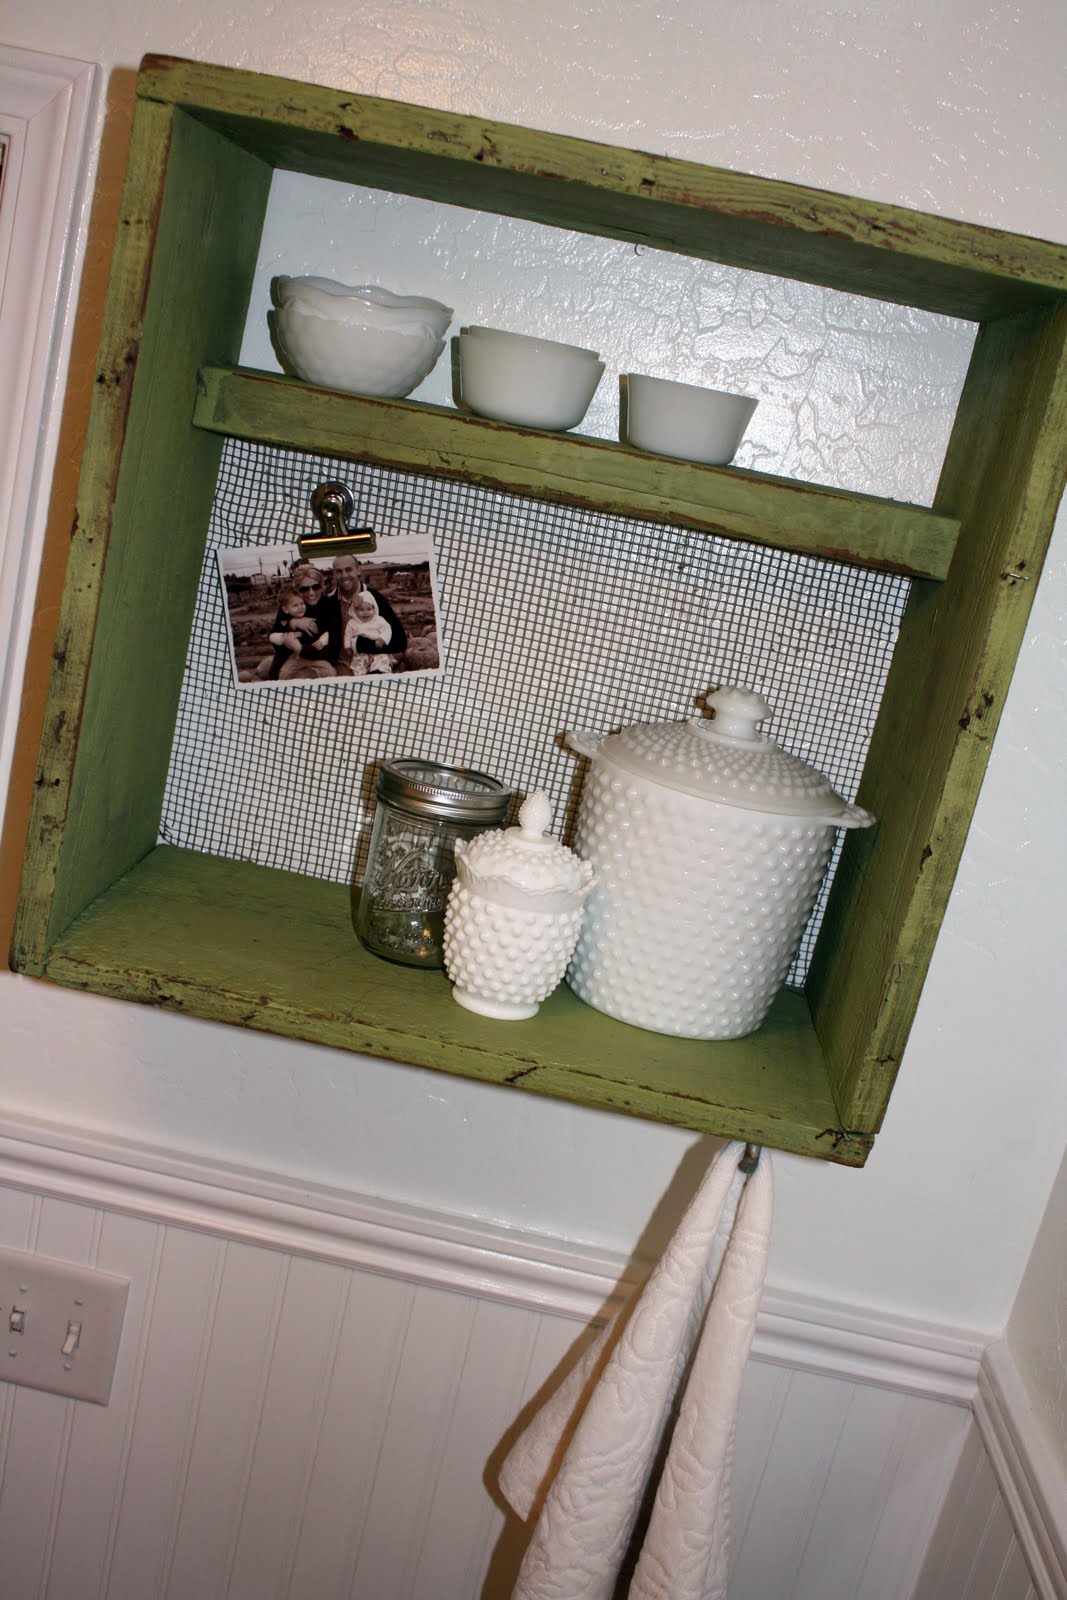
It's ones like this that make my back say..."No, please please no" It is a pain getting these things cleaned up, but the results are always so worth it. All of these treasures that I have, are from back in the day, so they are constructed mostly with huge, rusty, bent nails. So it's getting those unwanted ones out that probably takes up the most time. This one below was pretty shabby. I had to take off some excess things, sand and get it all cleaned up before I could start painting it.


I painted it the color of our kitchen, "Nappa Valley" .....

let it dry, and sanded the edges...

cut and reattached some of the wire mesh, added a hook to the bottom, and a magnetic bulldog clip to the wire!


FOR SALE $60 clip included, dishes....not so much.

Saturday, January 1, 2011

I LOVE a COLLAGE!

A collection, a collage, whatever you want to call it I'm obsessed!!!

I've been refurbing the trash pieces.....but all for myself MAHahahaha!

I had found these amazing old spoons, and I really wanted to display them somehow. Since it was Christmas time, I made them ornaments but now I gave them a more permanent home, in an old cabinet door! So fun, SOOOO easy!


This was my shabby little door. I also did this same type of project for my parents for Christmas. Instead of using a door, My hubby put together 2 simple rectangle frames with old wood, then we cut a piece of particle board that fits the back and covered it in burlap. Then on the front of one, I glued, a collection of vintage keys that were my grandpas, and in the second I displayed vintage screws, bolts, washers that were also my grandpas. It was really such a fun project making vintage screws into art and something memorable....and a gift that really means something, which I always love!


After cleaning out my little door, I measured and cut some burlap to fit inside. I used the spray glue to attach it to the wood. After letting that dry, I simply glued my spoons down using big globs of craft glue.


I have gone a little crazy with the frame collections. Our dining room has always had a ton of frames but I have always disliked the way they were on the wall, so change time! Since nobody bought the little chalkboard, I sure did decide to keep that puppy all to myself and throw it in the mix of frames.


I also added a couple more to the silhouette wall in the guest room, and some to the semi-collage that i had started in my bathroom. For all of these projects, I used frames that I already had stashed! I seriously will never throw a frame away, because it is so so easy to paint them and use them in so many fun new ways.


This piece of wood from the junk stash was one I couldn't wait to get done! I had wanted it in my loft since I saw it! I just LOVE the ruffed up shape, and the beautiful color of the brown. All I had to do was put a chalkboard behind it, and added knobs on either side that I picked up at home depot.


I tied a piece of twine across and added a collection of our new family pictures.
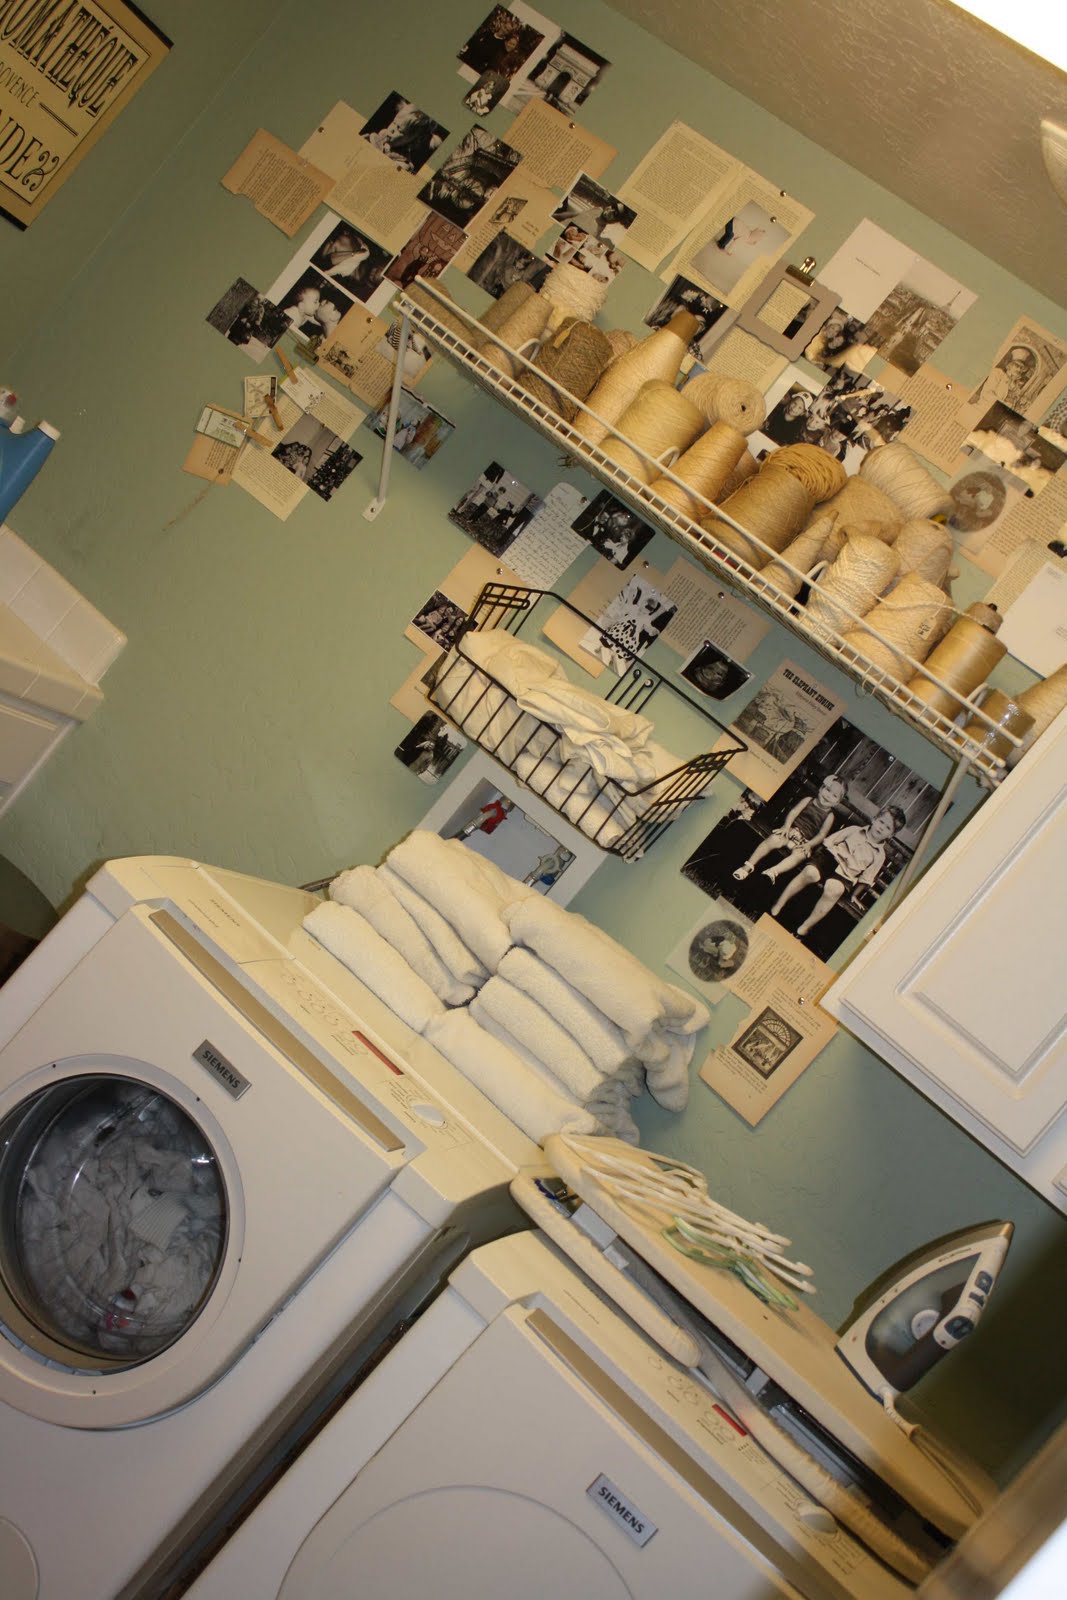
Below is an example of when I start I can't stop. I have just been so obsessed with the look of collages that I wanted one in my laundry room too! It was so so easy and fun. Just using push pins, old book pages, old photos, and cards I simply put them up! I just love the result! My hubby came up stairs only to discover my new craziness and I asked him if he liked it??!!! He simply tells me..If I put up one more collage in the house............me: but do you like it .... yeah, but it's becoming a bit over kill. HA! That defines me a guess...a bit over kill!:)

notice the laundry I am neglecting in the wash!
Just one more little collage...:)

Follow Me on Pinterest